Installation of SQL Server 2008 R2 Edition:
Step1:
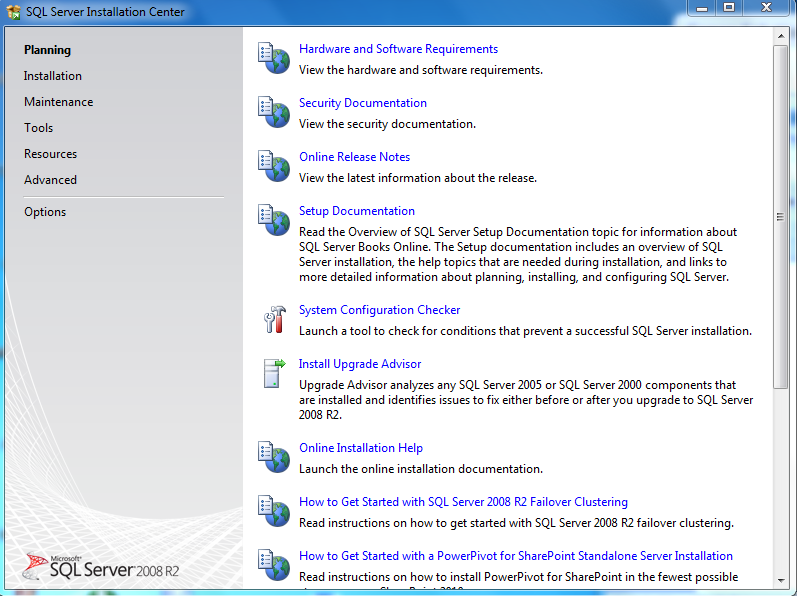
After double click of setup.exe or Auto run the sql server cd, you will be able to see the below window, with the default option planning. IF you click on the topics on the right hand side, you will be taken to the Microsoft site for its detail. Here I am going to the next step of Installation.
Step 2:
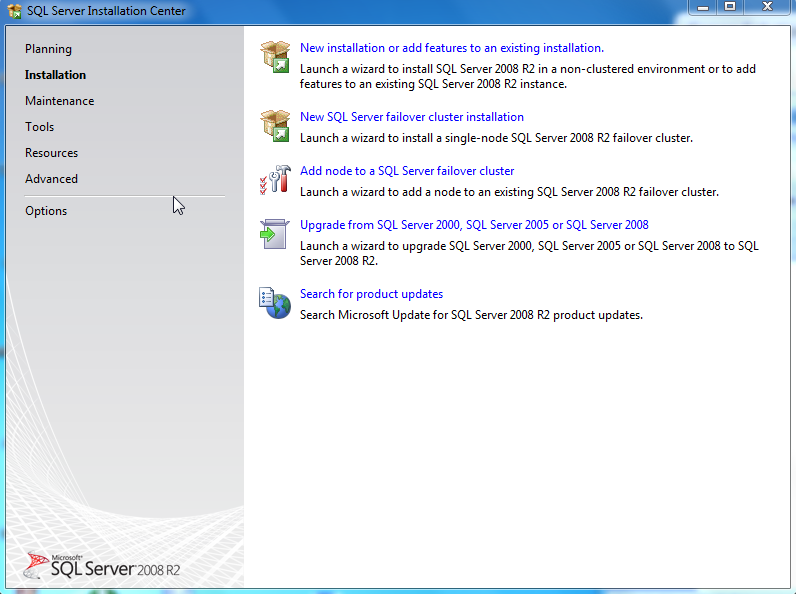
IF we select the Installation option, there are some options like upgrade options, and add a node to failover cluster, which are advanced options. So here I am selecting the new installation or add features to existing Installation.
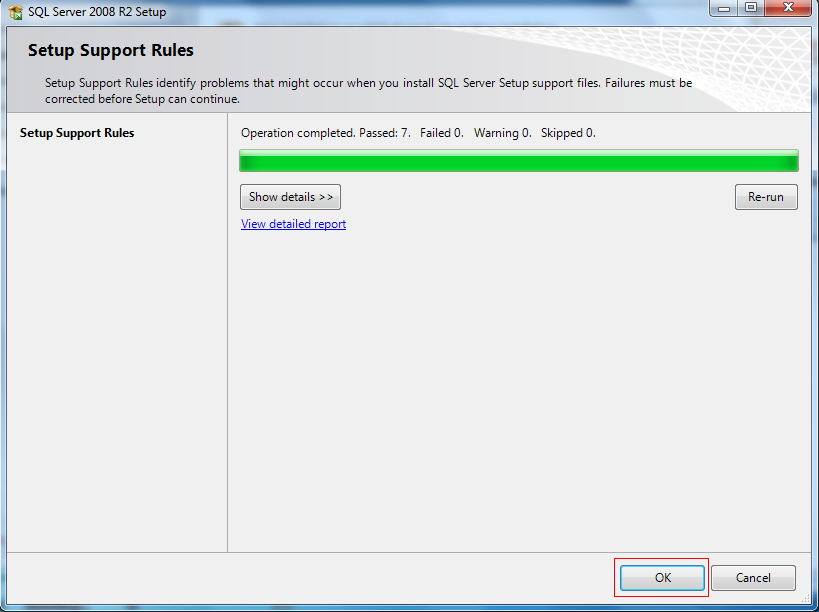
Step 3: Now the setup will run the Setup Support Rules to identify problems that might occur in sql server setup support Files.
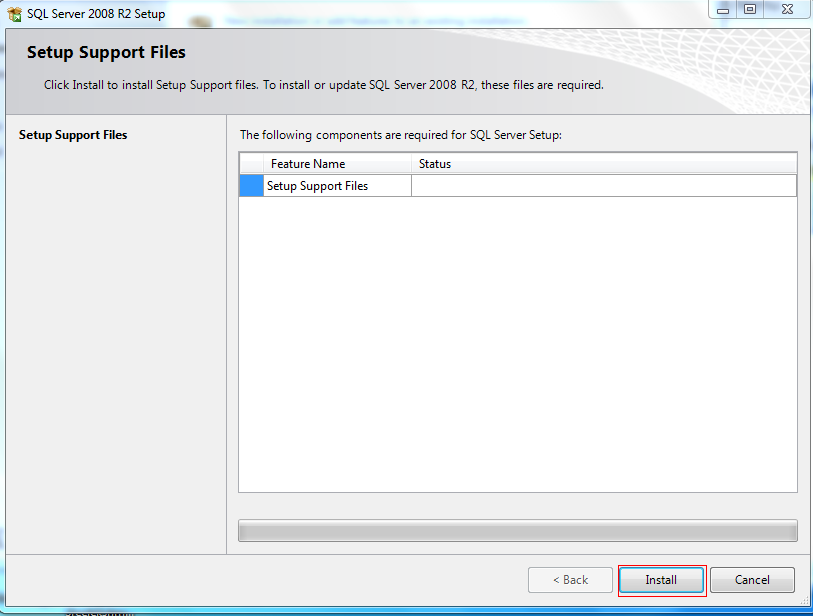
Step 4: Next step is installing setup support Files .Click Next to Install
 Step 5: After installing the setup Support Files , we need to choose New Installation or add shared Features for a new Installation. Already my computer is having a SQL Server 2008 Express Edition. So this SQL server Installation is a second Instance. Click Next to continue.
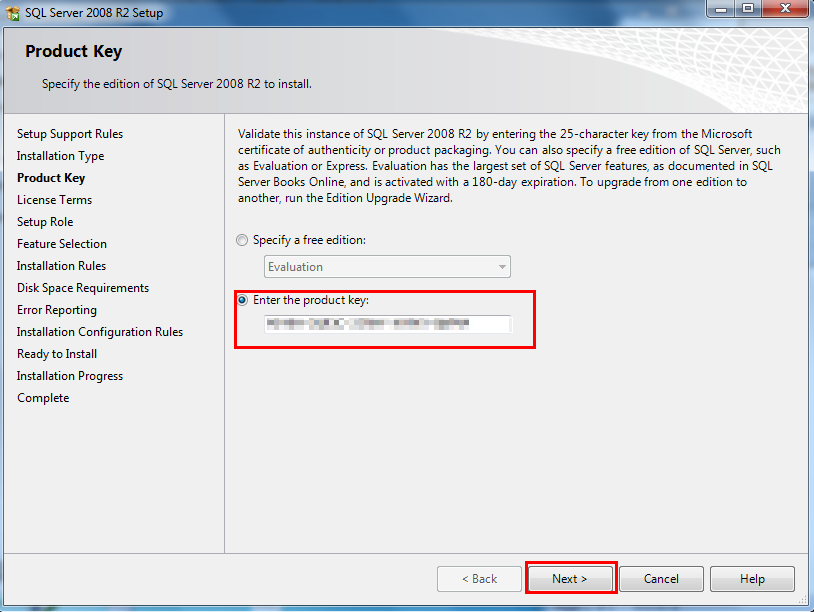
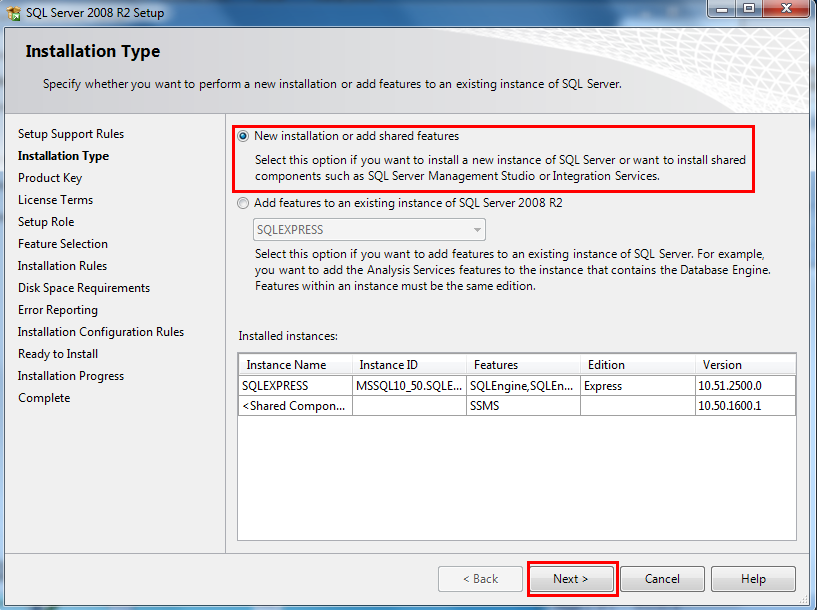 Step 6: Next step is to enter the Product Key. After that click Next to continue.
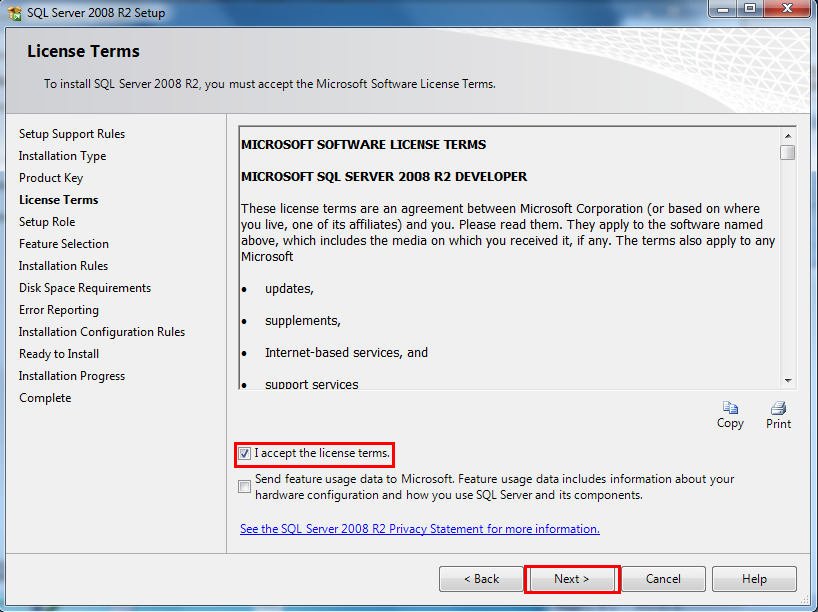
 Step 7: Next Step is to accept the Terms and conditions of the Microsoft License and Click Next to continue.
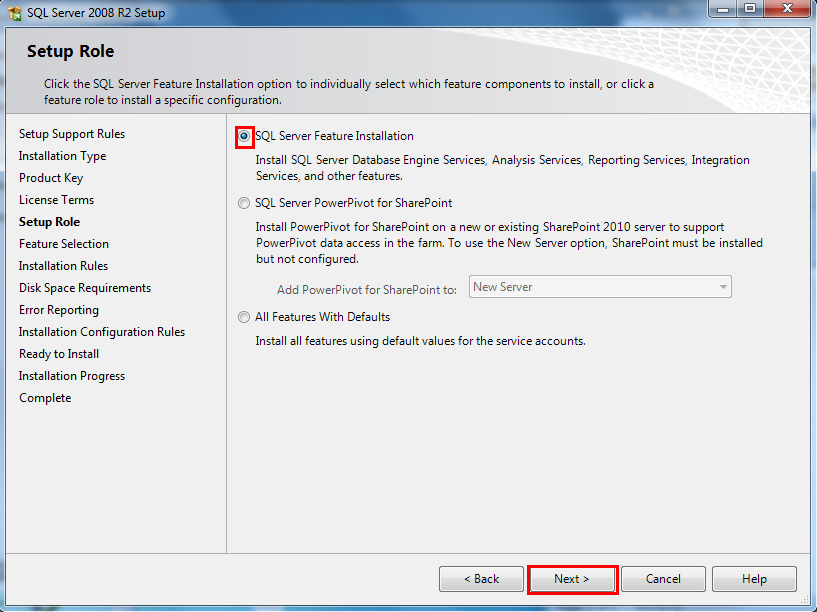
 Step 8: The Next Step is to choose the Setup Features, for that we need to choose SQL Server Feature Installation and click Next
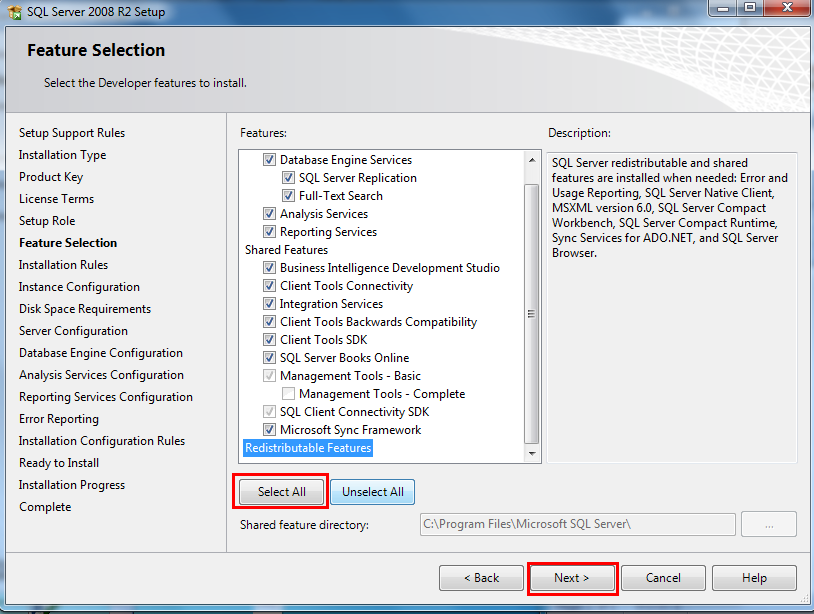
 Step 9: Our Next Task is to identify the Features we need to install in SQL server; here I am going to install ALL the Features of SQL Server. So I am Selecting Select ALL option and Click next to continue.
After this SQL Server will run Installation rules to check whether Installation process is blocked during Installation of the Features.
Note : Here I am Installing all SQL Server Features, better to Install only needed features so that you can reduce the CPU utilization , space and Memory of your computer.
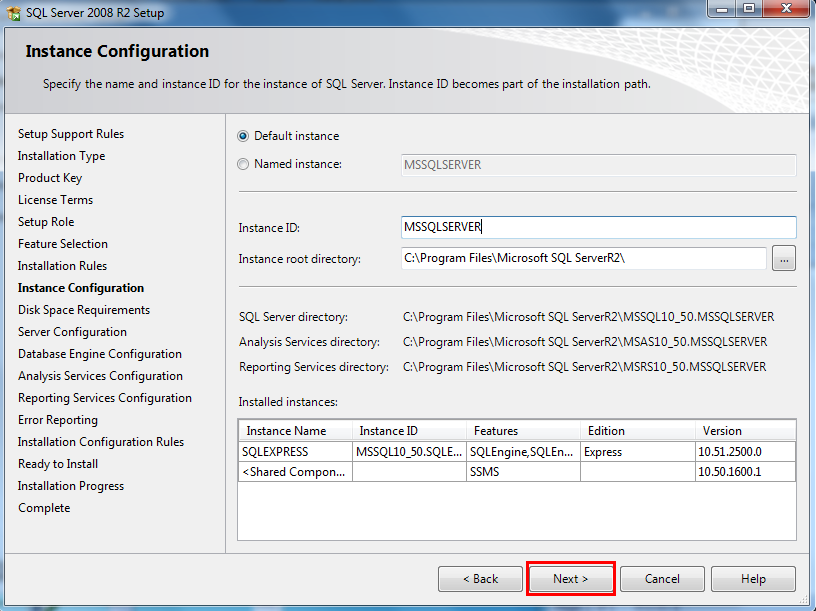
 Step 10: Next is Instance configuration. Here I am choosing the Default Instance and also setting up the directories for the corresponding features. After the above operation click next to continue.
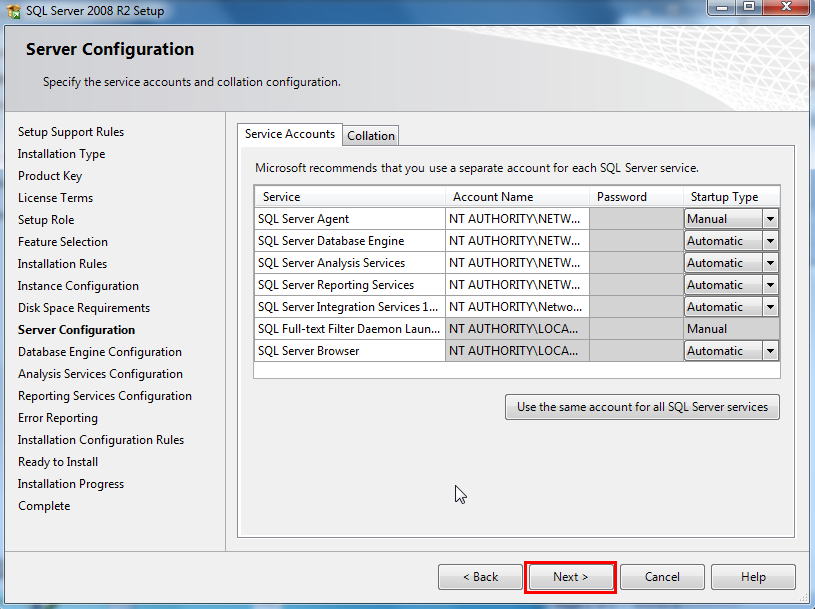
 Step 11: Setting the Service Accounts for the SQL Server Services. We can also choose the collation here, I am Proceeding with the default collation. After this click Next to Continue.
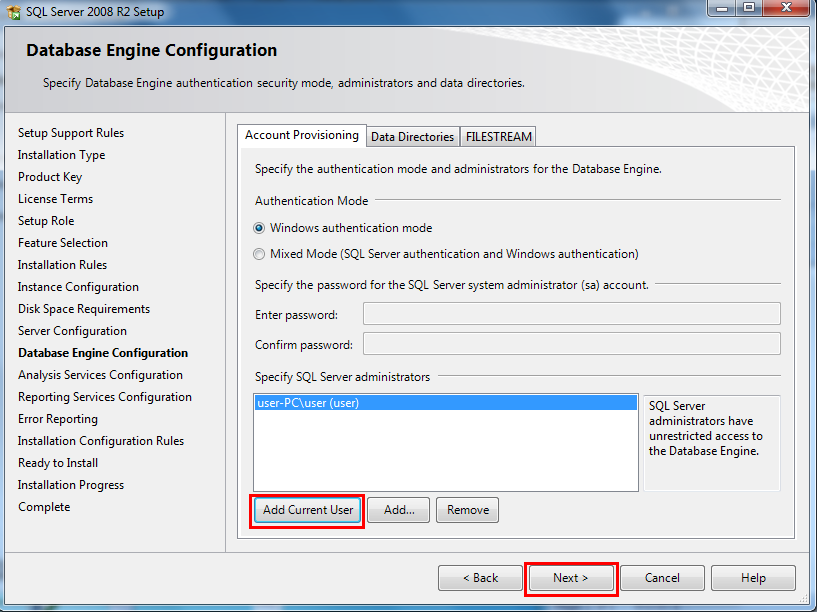
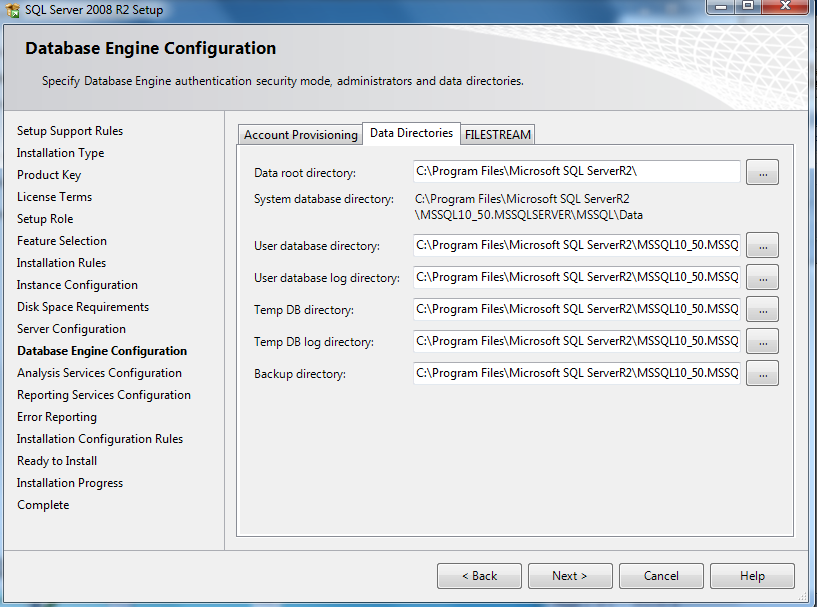
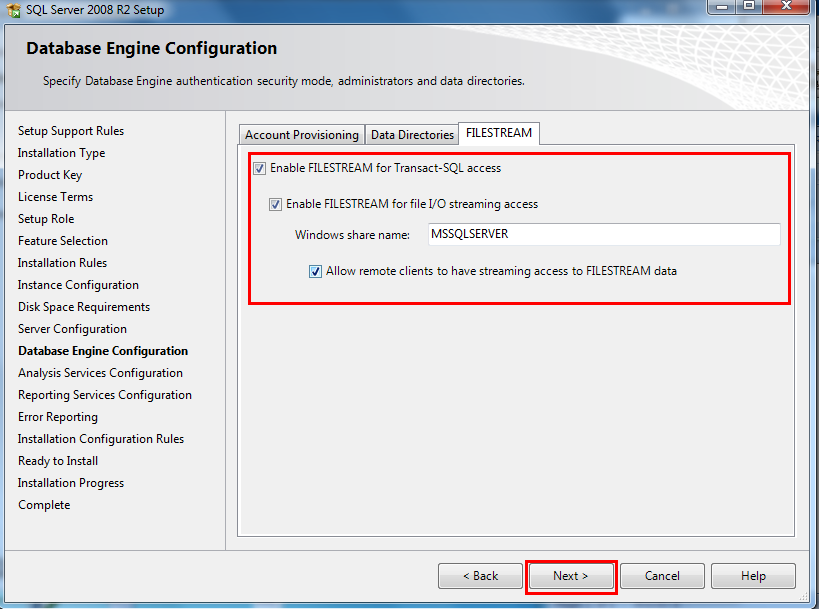
Step 12: Next is to specify the data Directories, Authentication Mode and option to Enable File stream. Here I am choose Windows Authentication mode and adding the current use for the Installation.
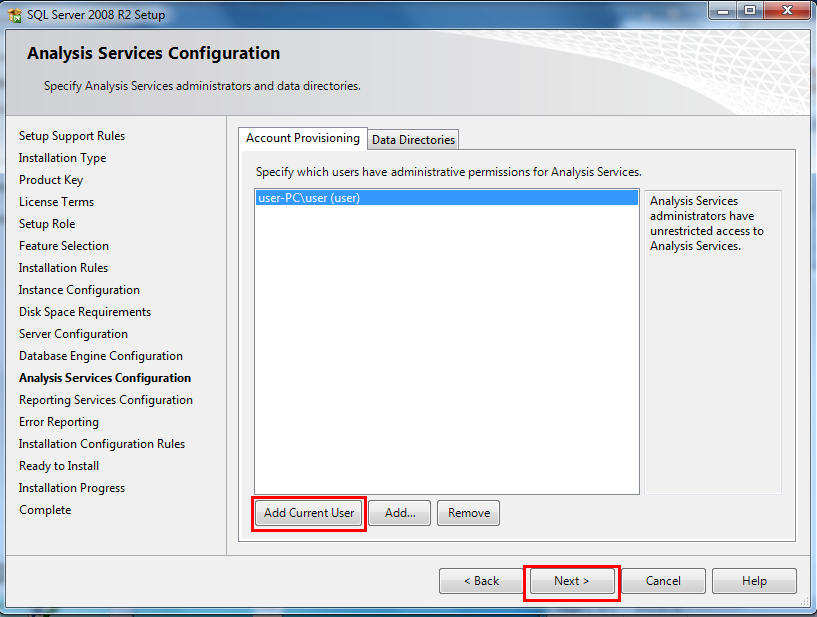
 Step 13: Next Step is to setting up the Accounts for Analysis Services and also the data directories for it. Click Next to continue.
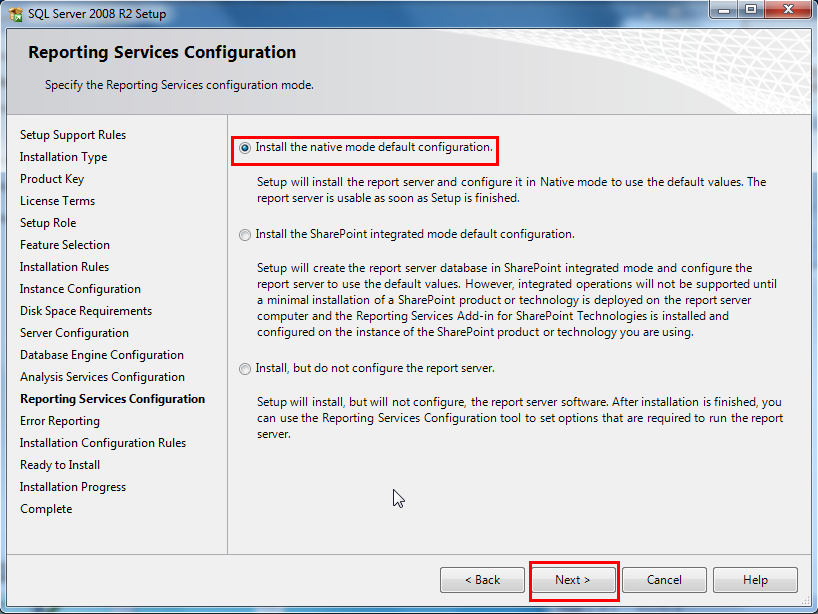
 Step 14: The next section is to configure Report services. Here I am only configuring Native mode default configuration for Reporting services. After selecting this click next to continue.
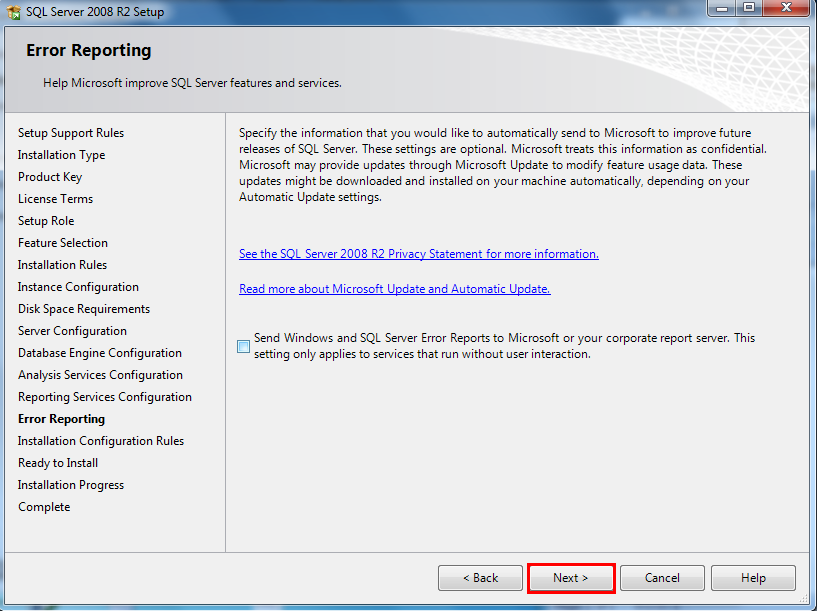
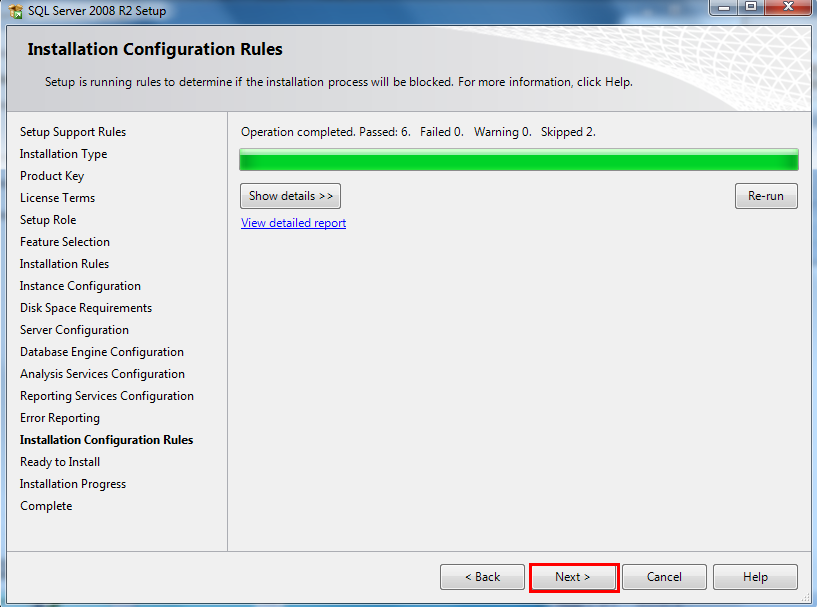
Step 15: Next is Error Reporting to Microsoft, Here I am disabling this feature, but it is better to have enabled. Click next to go to Installing configuration rules window, after completing the Installation rules, click next.
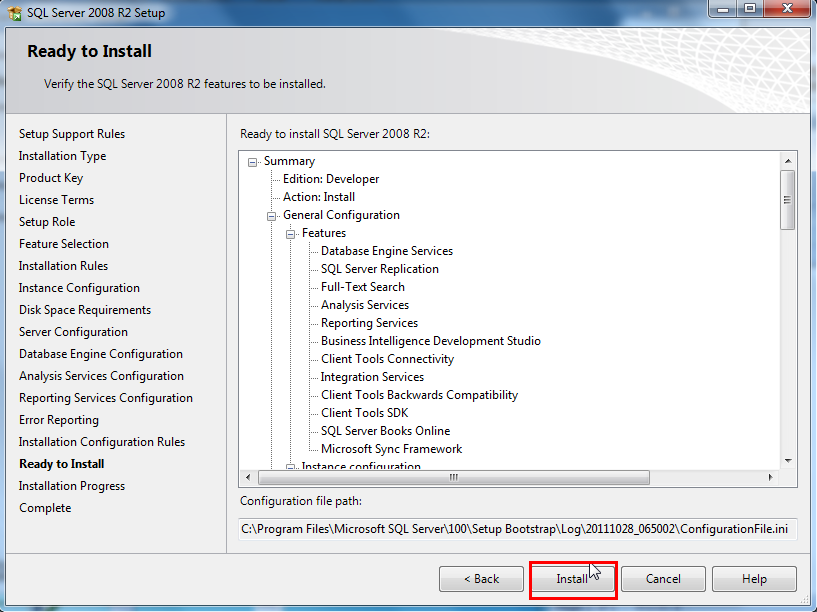
 Step 16: The next step is to verify the features to be installed. After verifying the features, click next to continue to complete the Installation process.
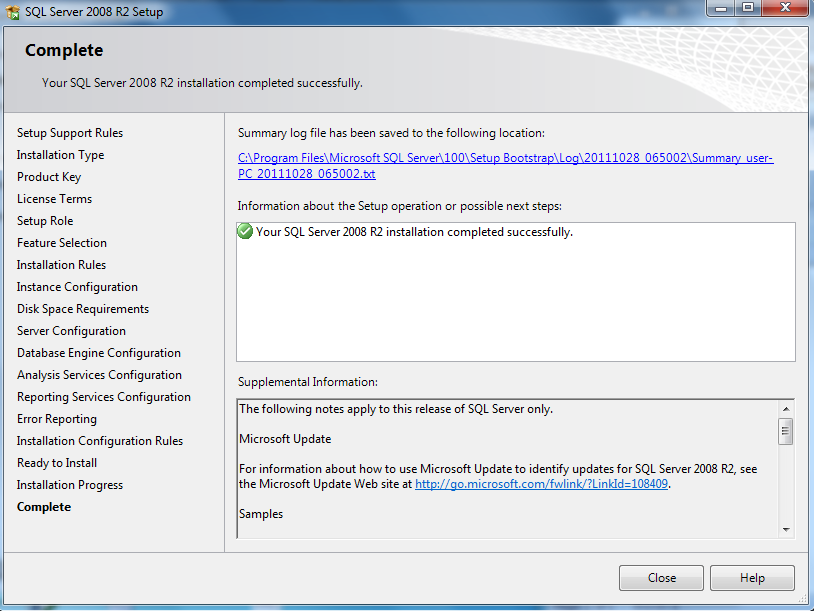
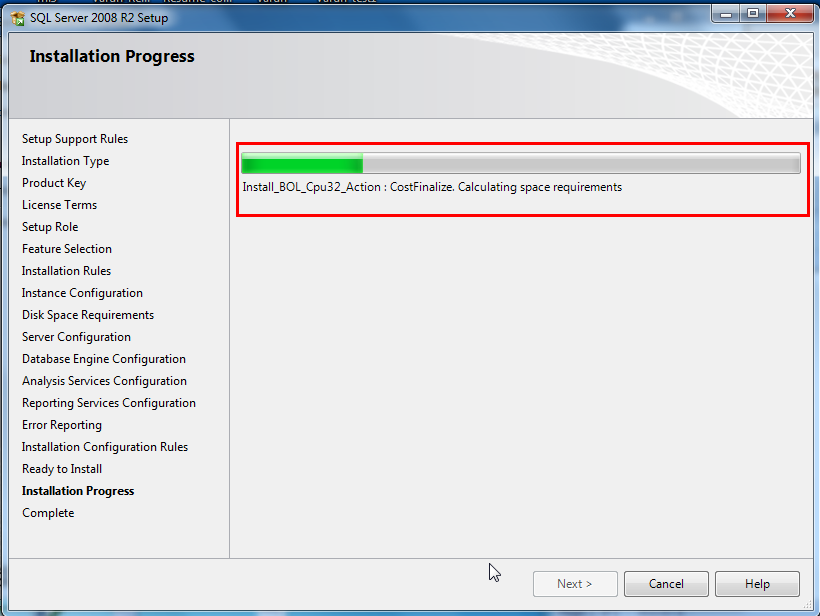 Step15: After completing the Installation of the features , a new window will open up , saying that your SQL Server 2008 R2 Installation completed successfully.

Preethy Kamath
13 years agoNice ..Thanks
Preethy Kamath
13 years agoNice..thanks
Niks Shine
13 years agoHi,
You have described it well. Thanks for this.
Bro, I am also installing this software. Actually I have an question on the step no 11. why we are using Network account for various purposes; why we can’t make use of System or Local account.
Hope you would find time to answer this. Thank you!
-Niks
Varun R
13 years agoDomain account is more secure right? I would suggest you to use domain account with minimal permissions. It is also a best practice.